
Travel
Travel Safety in Ireland: What Visitors Need to Know in 2025

Travel photography is more than just snapping pictures; it’s the art of capturing experiences, emotions, and the unique essence of every destination. For beginners, mastering travel photography opens up new ways to tell stories, preserve memories, and share your adventures with the world. Whether you’re using a smartphone, a compact camera, or a DSLR, the journey begins with understanding foundational techniques and developing a creative eye.
Before heading out, it’s crucial to get familiar with your camera’s functions. Read the manual thoroughly, explore online guides, or take a beginner-friendly photography class to understand key settings like aperture, shutter speed, and ISO. Practicing at home-photographing everyday objects or family members-helps you build confidence and speed when shooting on the go. Don’t rely solely on automatic mode; experiment with aperture or manual mode to gain better control over your images. The more you practice, the more intuitive your process will become. [1]

Implementation Steps:
Alternative Approaches: If you prefer mobile photography, explore your phone’s advanced features and third-party camera apps for greater flexibility.
Beginners often get overwhelmed by the array of camera gear available. Start with equipment that matches your travel style and comfort level. Heavier gear can be difficult to manage, especially during active trips. Lightweight cameras or even smartphones may be ideal for on-the-go shooting. Consider practical accessories: a compact tripod for steady shots, a selfie stick for group photos, or a versatile lens for various subjects. Do not stress about brands-leading options like Sony, Nikon, Canon, or even Google and Apple smartphones deliver excellent quality. [4]
Implementation Steps:
Alternative Approaches: Renting gear for special trips is a cost-effective way to try new equipment without a large investment.
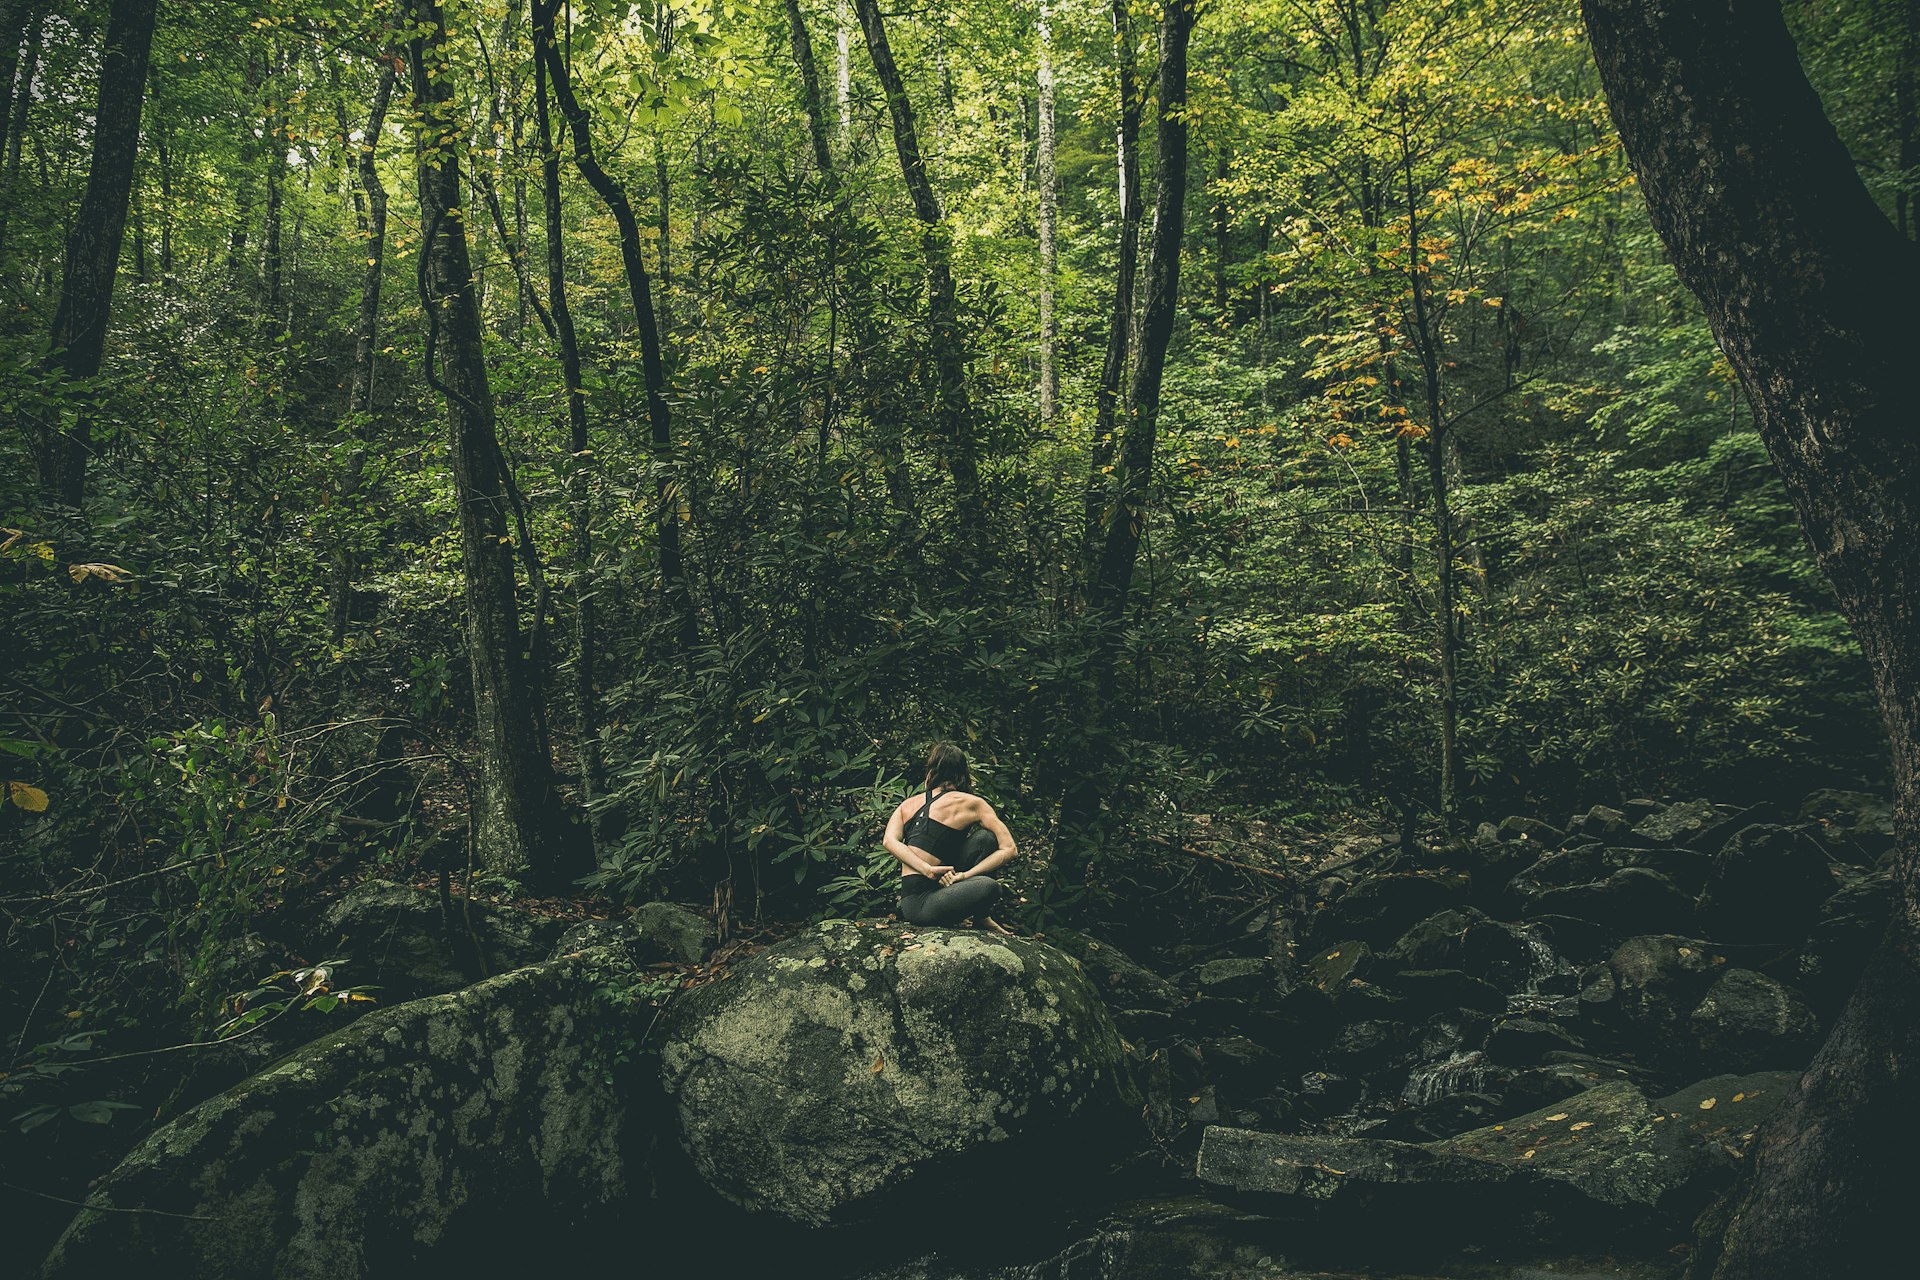
One of the most effective ways to enhance your travel photos is by applying the Rule of Thirds . Imagine your frame divided into a grid of nine sections; place the key subject or horizon along these lines or their intersections to create dynamic, balanced images. Avoid centering subjects unless intentional for effect. Simplicity is equally important-focus on a single, clear subject and remove distractions from the frame. Ask yourself, “What is this a photo of?” If the answer is lengthy, simplify your composition. [1] [2]
Implementation Steps:
Alternative Approaches: Explore other composition techniques like leading lines, framing, and negative space for creative results.
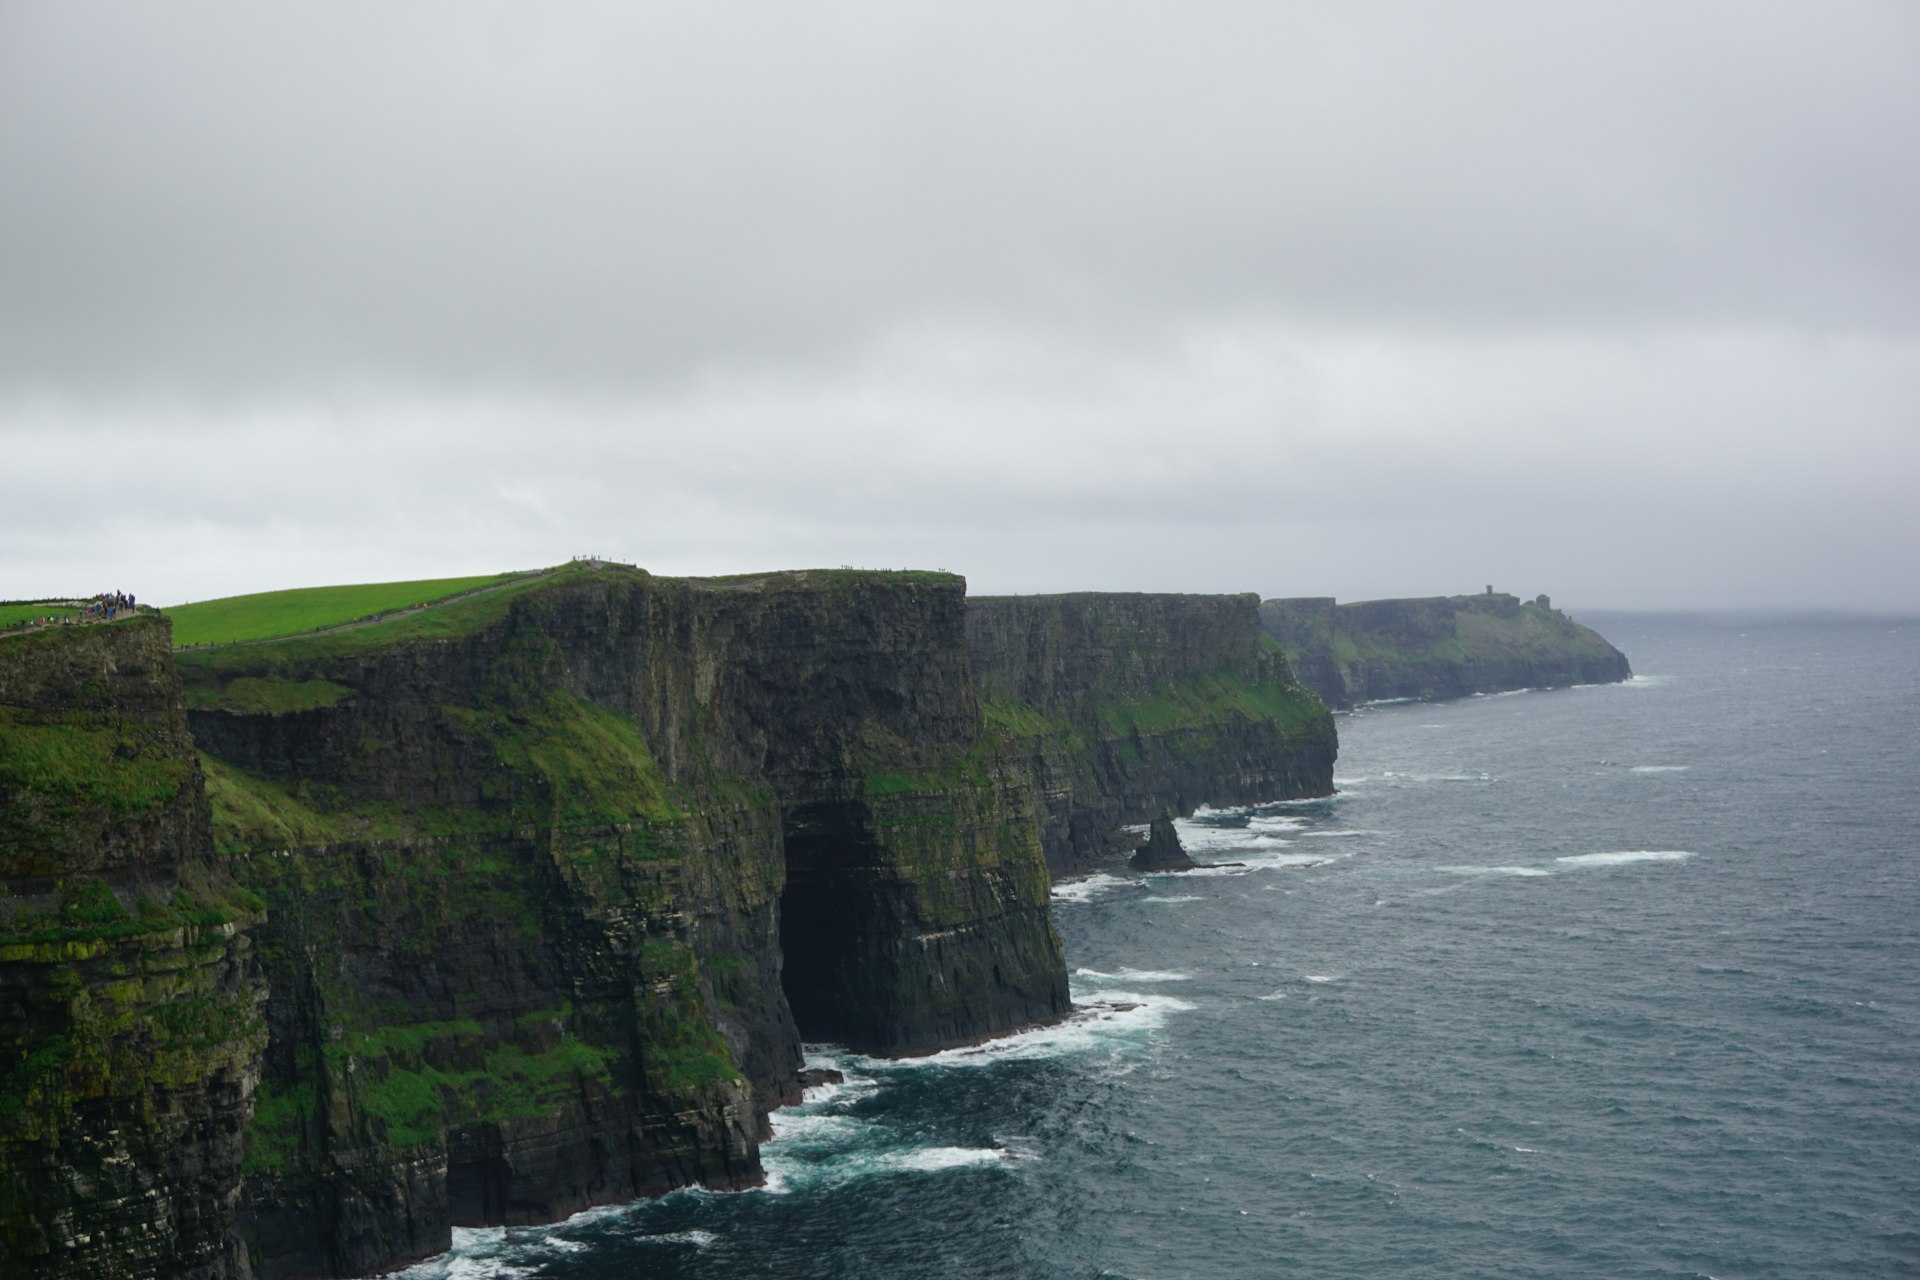
Lighting can dramatically affect the mood and quality of your travel photos. Shooting during Golden Hour (the hour before sunset) or Blue Hour (the hour after sunset) provides soft, flattering light and vibrant colors. Early morning shoots often offer empty, peaceful locations. While schedules may not always align for sunrise, sunset is a reliable alternative for beautiful images. [3]
Implementation Steps:
Alternative Approaches: Overcast midday light can be ideal for portraits, reducing harsh shadows. Seek shaded areas or diffusers when direct sunlight is unavoidable.
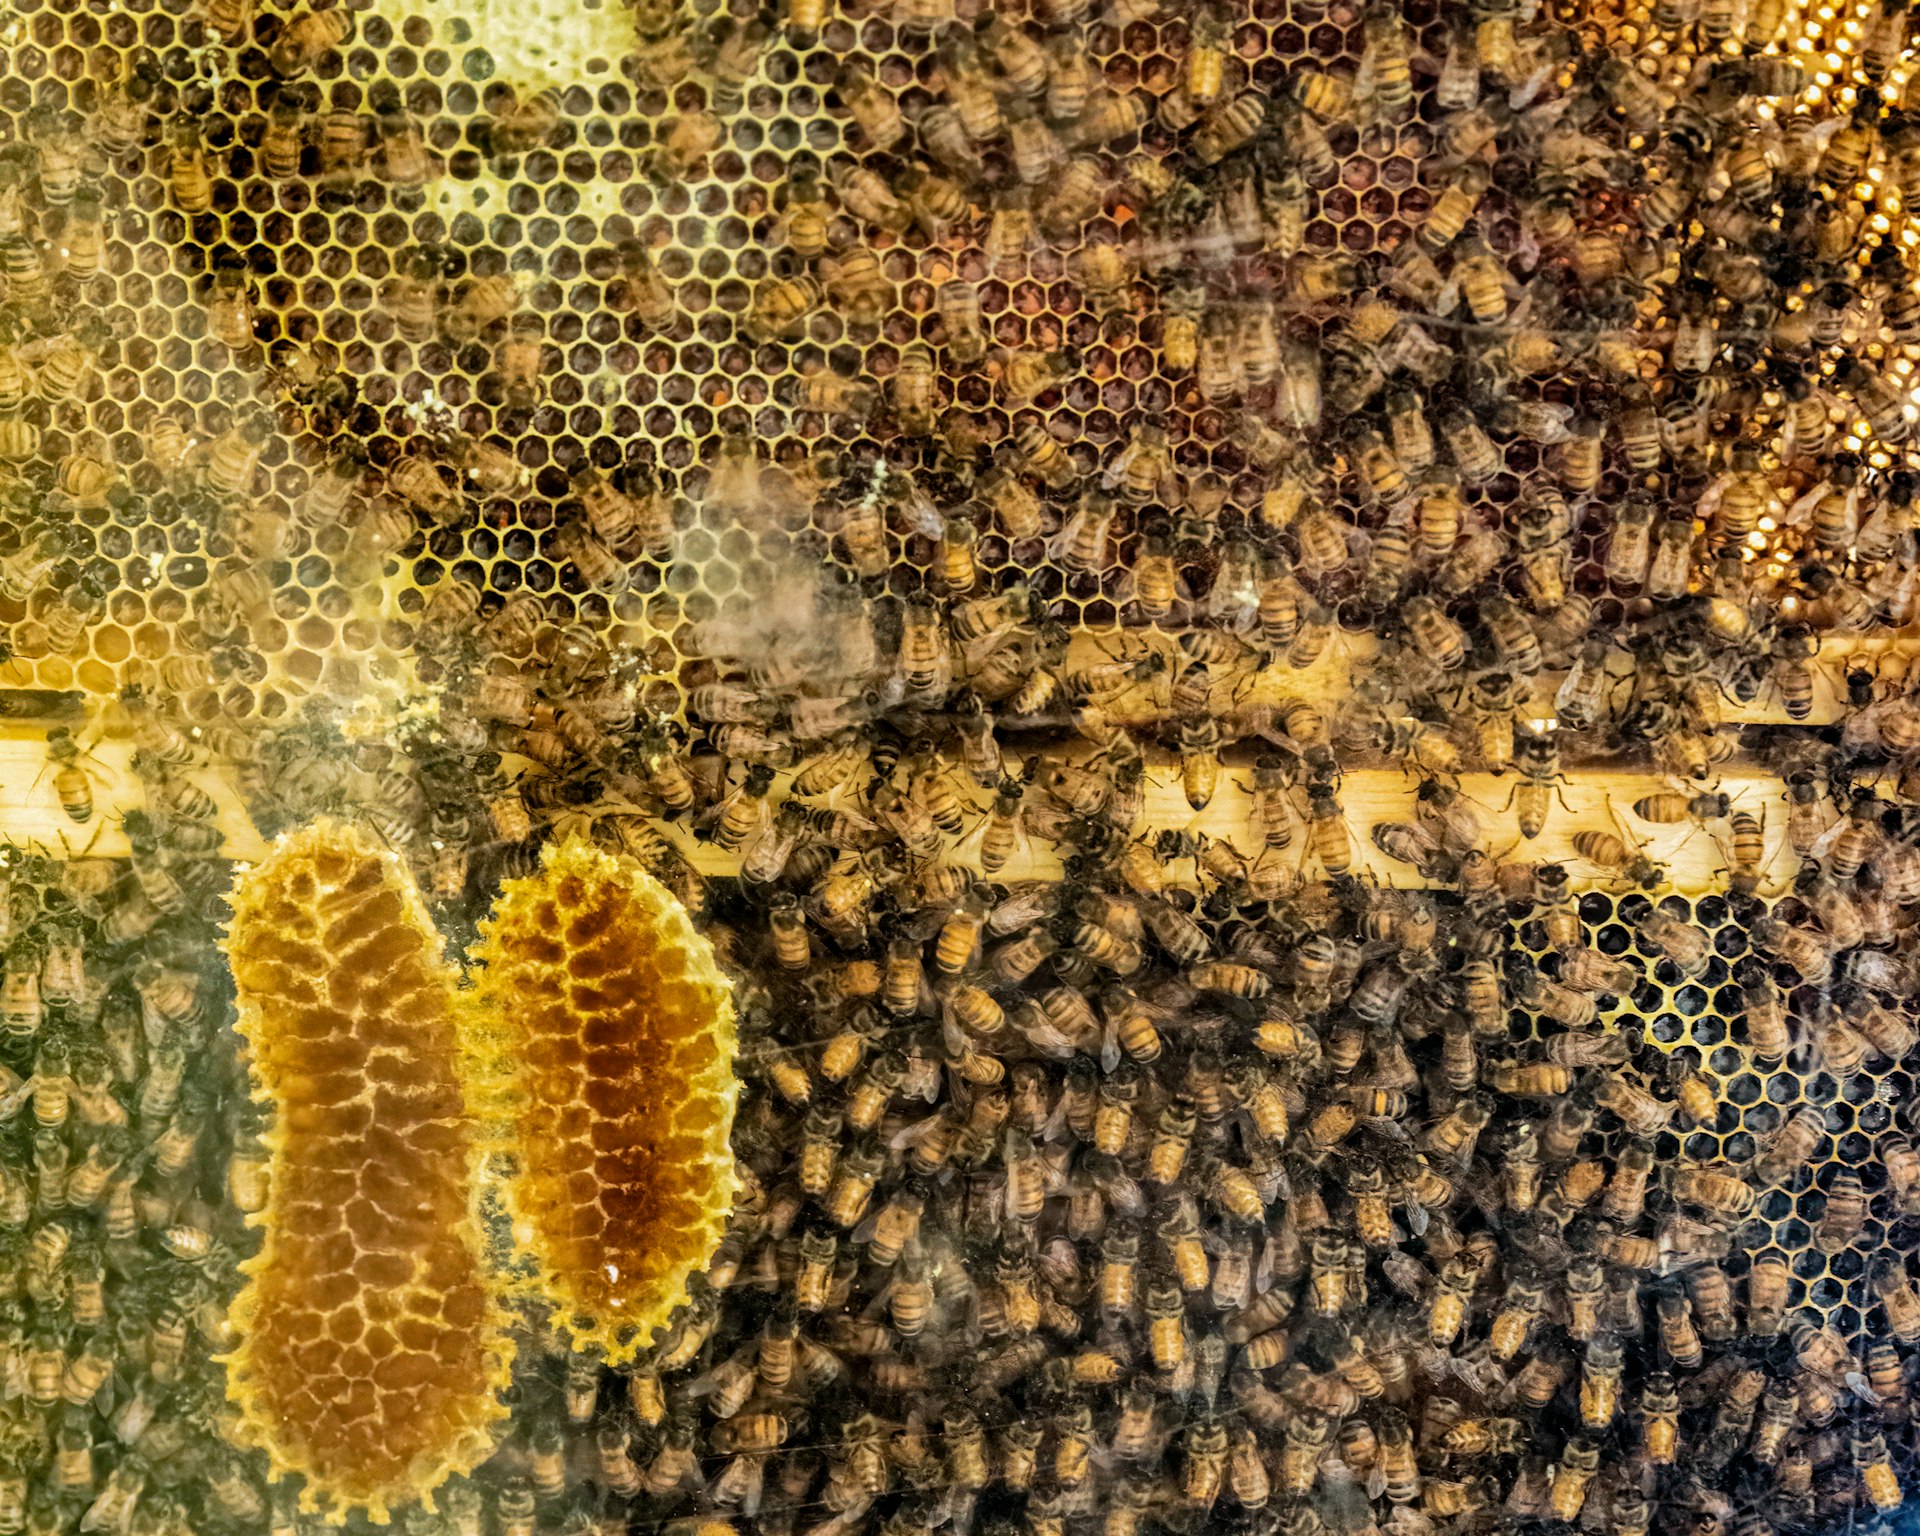
Eliminate distractions by filling the frame with your subject, which brings focus and emotional impact to your photos. This approach works especially well for portraits, food photography, and architectural details. Beyond grand landscapes, look for small details-textures, color patterns, or signs of local life-that add layers to your storytelling. [2] [5]
Implementation Steps:
Alternative Approaches: Try shooting the same scene from multiple angles (above, below, side) to uncover new perspectives and details.
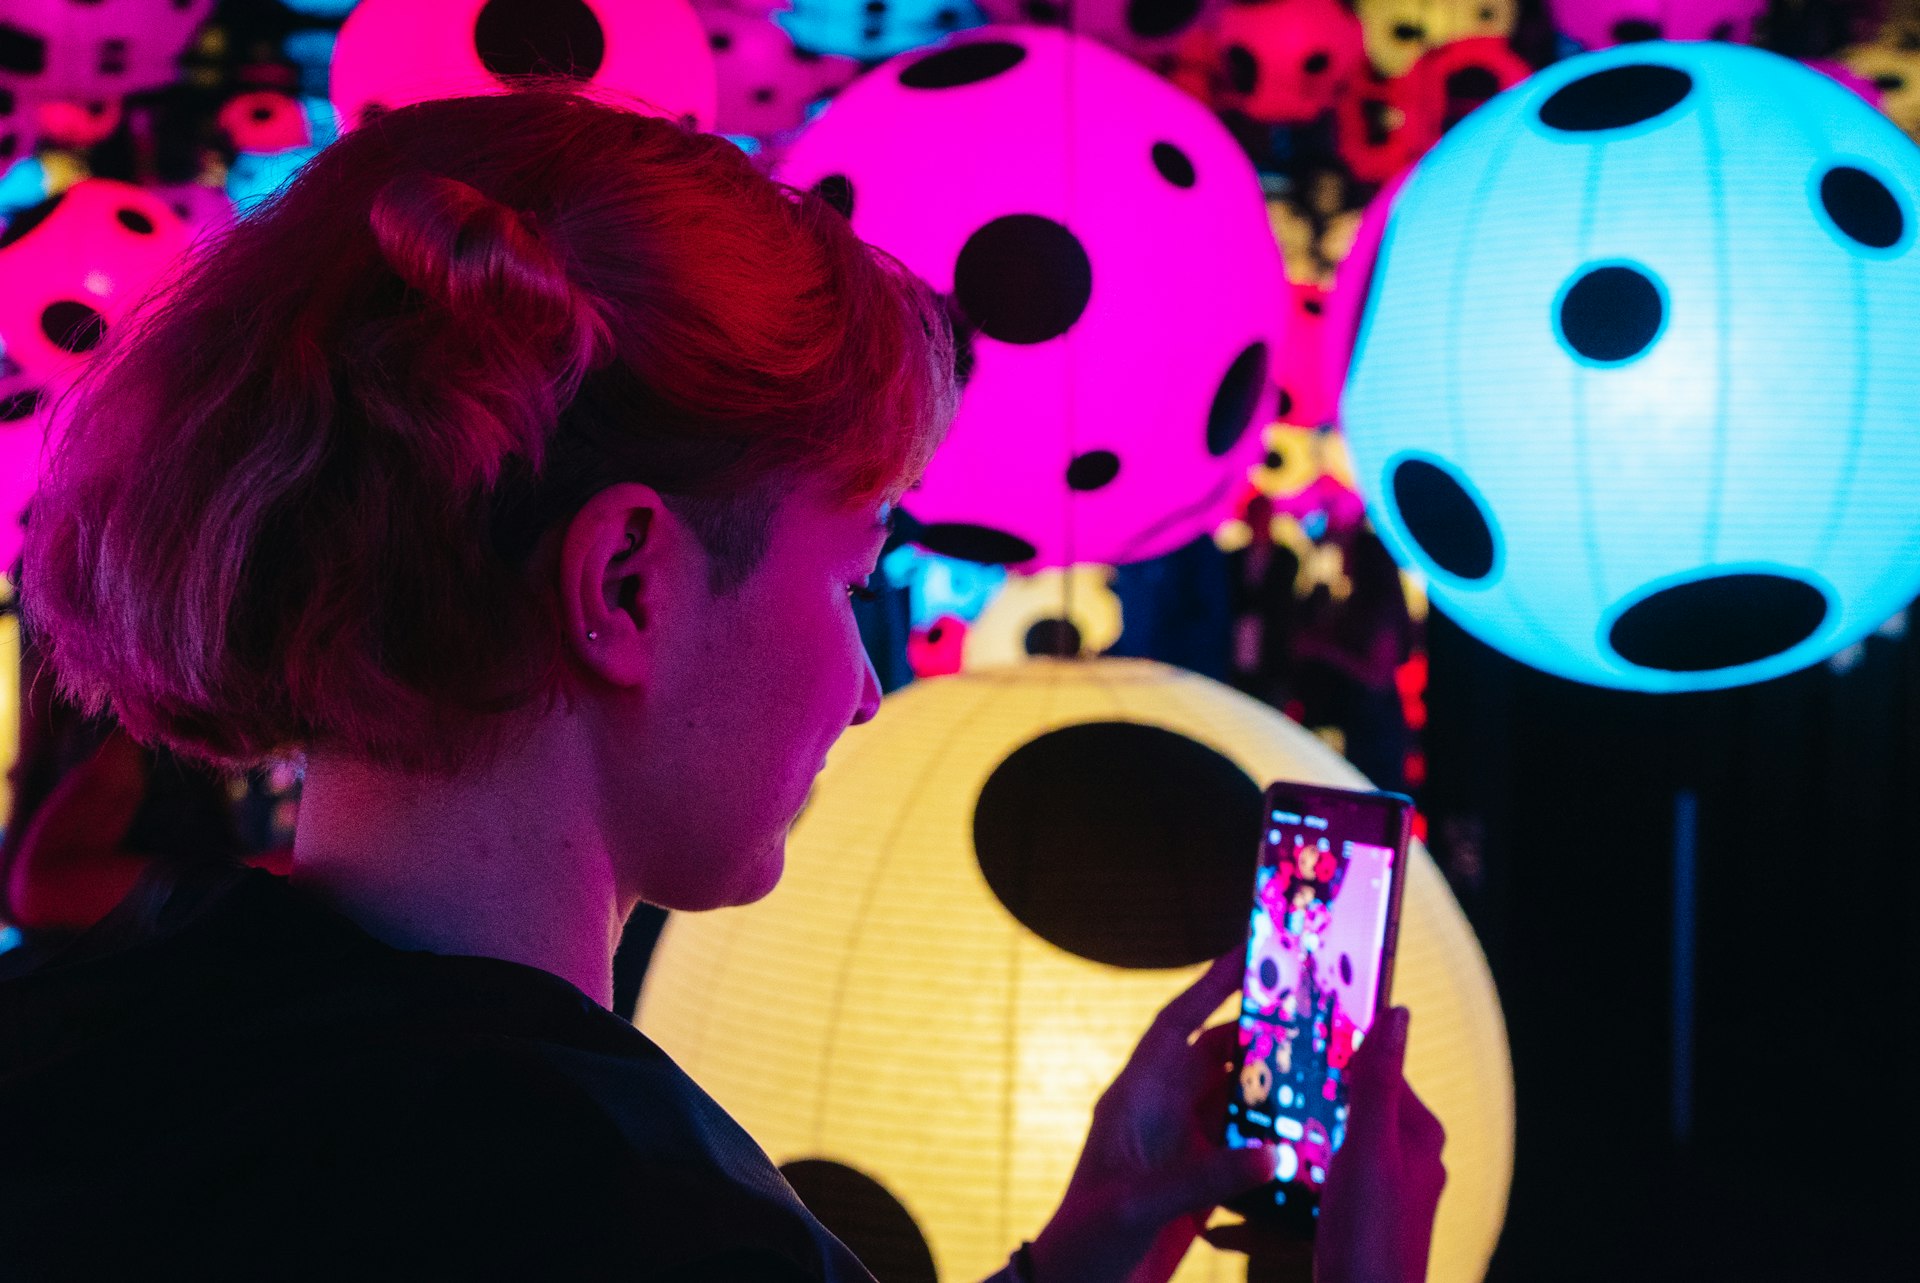
Travel photos are powerful when they capture not only the scenery but also the story behind the moment. Experiment with different perspectives-shoot wide for context, tight for detail, and from unexpected angles to add variety. Document your journey by capturing both the iconic landmarks and the everyday moments: street vendors, signage, textures, and people. Each image should contribute to the narrative of your adventure. [5]
Implementation Steps:
Alternative Approaches: Use photo-editing apps to crop, adjust colors, and enhance clarity for storytelling impact.
Travel photography presents unique hurdles: unpredictable weather, crowds, and unfamiliar environments. Flexibility is key. If weather is unfavorable, seek indoor subjects or wait for changing conditions. For crowded sites, arrive early or late, or use creative framing to exclude distractions. Always back up your photos daily to avoid loss and maintain a habit of reviewing and learning from your results.
Implementation Steps:
Alternative Approaches: When in doubt, focus on candid moments and details rather than perfect landscapes.
To take your travel photography further, consider joining local or online photography groups for feedback and inspiration. Explore free and paid courses at reputable institutions, such as community colleges or platforms like Coursera and Udemy, using the search term “beginner travel photography course.” Many professional photographers publish tutorials on their official websites or YouTube channels. You may also follow travel photography blogs for real-world case studies and gear reviews.
Actionable Guidance:
MORE FROM visa4visit.com