Unlocking Creativity: A Comprehensive Guide to Experimental Photography Techniques

Photo by Nicolas I. on Unsplash
Introduction to Experimental Photography Techniques
Experimental photography offers photographers a path to transcend conventional boundaries and express their creativity through innovative methods. By embracing experimentation, photographers can produce images that evoke emotion, tell unique stories, and challenge viewers’ perceptions. This guide explores a range of actionable experimental techniques, providing step-by-step instructions, practical examples, potential challenges, and alternative approaches for each method.
Chemical Manipulation in Photography
Chemical manipulation is a classic experimental technique rooted in analog darkroom practices. It involves altering the development process with chemicals to achieve distinctive effects such as changes in brightness, contrast, color tone, and texture. The hands-on nature of this approach allows photographers to maintain control over the final aesthetic.
For those working digitally, similar outcomes can be achieved through post-processing software, using adjustment layers, filters, and blending modes to mimic the effects of traditional chemical manipulation. To try this technique, you can:
Step-by-step: 1. Acquire photographic paper and chemicals (developer, fixer, etc.). 2. Arrange your workspace for safety and efficiency. 3. Experiment with varying the timing and concentration of chemicals during development. 4. Document each process in a journal to refine your methods.
Challenges: Chemical manipulation requires careful handling and a well-ventilated space due to the nature of the chemicals. Beginners should seek guidance from established darkroom manuals or local workshops.
Alternative: If you lack access to a darkroom, experiment with digital editing tools such as Adobe Photoshop or Lightroom. [1]
Cameraless Photography (Photograms)
Cameraless photography, known as photograms or rayograms, bypasses the camera entirely. Instead, objects are placed directly onto photosensitive paper, exposed to light, and developed to create abstract silhouettes.
Step-by-step: 1. Collect objects with interesting shapes and textures (leaves, keys, lace, etc.). 2. Arrange them on light-sensitive photographic paper in a darkroom. 3. Briefly expose the paper to light. 4. Develop the paper using photographic chemicals.
Example: Artists such as Man Ray have used this approach to produce iconic, surreal images.
Challenges: Precision in exposure time is crucial. Too much light can wash out details, and too little may result in faint silhouettes.
Alternative: Digital artists can simulate photograms by scanning objects or using high-contrast adjustment layers. [1]
Solarization
Solarization creates surreal images by exposing photographic prints or negatives to light during development, causing dark areas to appear luminous.
Step-by-step: 1. Develop your photograph in a darkroom as usual. 2. Midway through development, briefly switch on a light source. 3. Continue the development process and fix the image.
Example: Man Ray popularized this technique, which became a hallmark of experimental art.
Challenges: It takes practice to achieve the desired effect, as timing and light intensity are critical.
Alternative: Use digital layer blending or inversion tools to mimic the solarization effect. [1]
Intentional Motion Blur
Motion blur involves capturing movement by using a slow shutter speed, resulting in images where subjects or backgrounds appear fluid and dynamic.
Step-by-step: 1. Set your camera to manual mode and select a slow shutter speed (1/15s or slower). 2. Photograph moving subjects or move the camera intentionally during exposure. 3. Experiment with different speeds and subject movements.
Example: Shooting from a moving vehicle or during dancing can create abstract images.
Challenges: Achieving the right balance between blur and recognizable forms may require multiple attempts.
Alternative: In post-processing, use digital blur tools to simulate motion. [5]
Light Painting
Light painting uses long exposures to capture trails and shapes made by moving light sources, producing striking and abstract images.
Step-by-step: 1. Set your camera on a tripod and choose a long exposure (10 seconds or more). 2. In a dark environment, use flashlights, sparklers, or glow sticks to “paint” in the air. 3. Experiment with colors, shapes, and movement patterns.
Example: Artists use light painting to create portraits or abstract compositions.
Challenges: Synchronizing movement and exposure requires practice.
Alternative: Use digital brushes in editing software for similar effects. [5]

Photo by Chris Yang on Unsplash
Multiple Exposures
Multiple exposure techniques involve capturing several images on the same frame, either using analog cameras or digital blending.
Step-by-step: 1. For analog: Take a shot without winding the film, then shoot again over the same frame. 2. For digital: Use software to overlay and blend multiple images. 3. Adjust opacity and blending modes for surreal effects.
Example: Stephanie Jung’s urban photography uses digital multiple exposures for dreamlike cityscapes. [4]
Challenges: Managing exposure and composition to avoid washed-out images.
Alternative: Experiment with triple or quadruple exposures for added complexity. [5]
Impressionistic Focus and Lens Filters
Impressionistic focus creates soft, out-of-focus images by using a wide aperture or manual focus. Lens filters can include unconventional materials (clingfilm, sheer fabric, warped glass) placed in front of the lens.
Step-by-step: 1. Switch your camera to manual focus and select a wide aperture (e.g., f/2.8). 2. Place unconventional filters in front of your lens. 3. Compose your shot, focusing on mood and abstraction rather than detail.
Example: Using a plastic bottle or a window with warped glass can add unique textures to portraits.
Challenges: Some filters may reduce image clarity too much; experiment to find the right balance. [3]
Projection Techniques
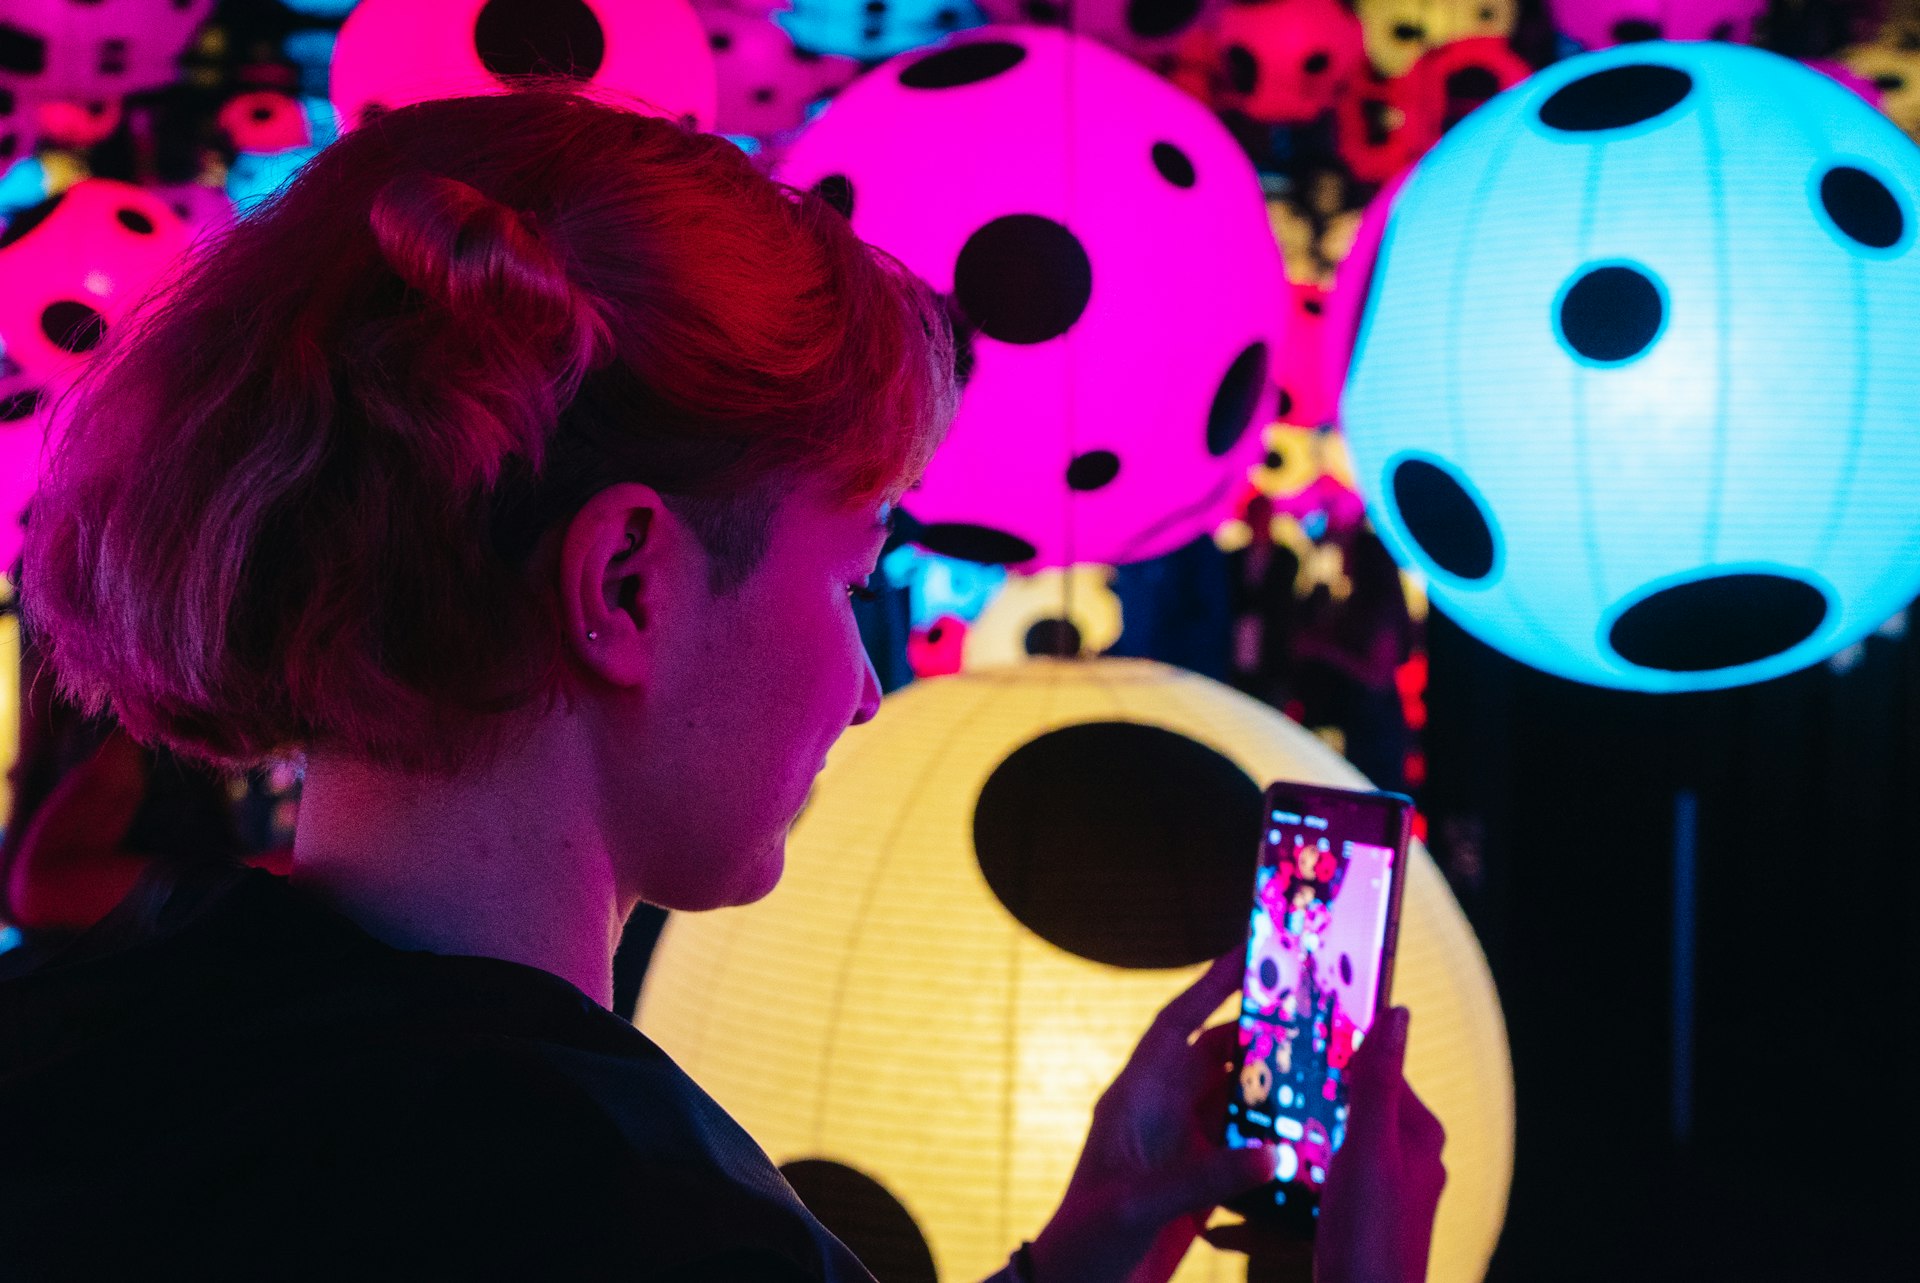
Projection involves casting light, shapes, or colors onto a surface or subject using projectors. This can add dimension and create photographic body art.
Step-by-step: 1. Set up one or more projectors to cast patterns onto your subject and background. 2. Experiment with fabrics, surfaces, and movement. 3. Adjust lighting and camera settings to integrate projections seamlessly.
Example: Photographer Eric Burke uses dual projectors for complex visual effects.
Challenges: Synchronizing projector images with subject movement. [3]
Incorporating Found Objects
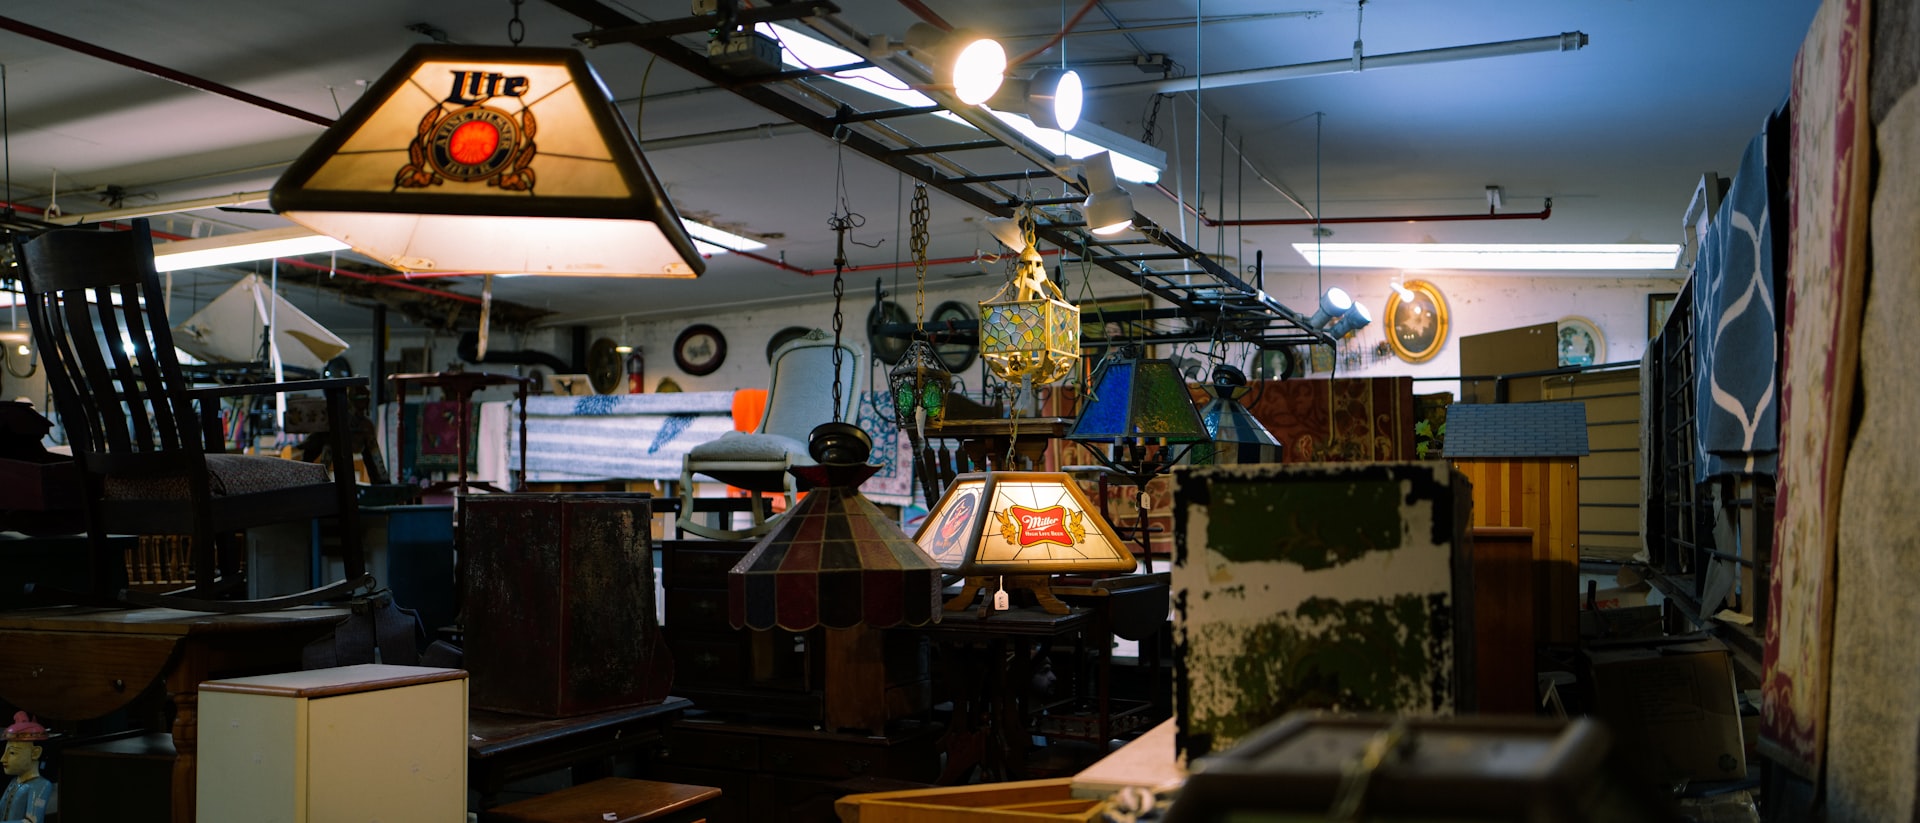
Using found objects with unique textures-such as rusted metal, weathered wood, or peeling paint-can add depth and interest. Incorporate these objects as props or backgrounds.
Step-by-step: 1. Collect objects with compelling shapes or textures. 2. Arrange them in your composition for visual impact. 3. Experiment with lighting and angles to highlight their features.
Challenges: Ensuring objects complement rather than overpower the main subject. [2]
Experimenting with Color
Color experimentation includes color grading, using filters, or selecting complementary/contrasting palettes for dynamic visuals.
Step-by-step: 1. Experiment with colored gels, filters, or digital color adjustments. 2. Choose color schemes that evoke specific moods. 3. Apply color selectively to create emphasis.
Challenges: Overuse of color can distract from composition; balance is key. [2]
Unusual Angles and Perspectives
Shooting from low, high, or tilted angles can add depth and transform perspective.
Step-by-step: 1. Vary your shooting position to explore new viewpoints. 2. Use wide-angle lenses to exaggerate perspective. 3. Combine with other experimental techniques for added effect.
Challenges: Maintaining compositional balance when breaking traditional framing rules. [2]
Documenting and Refining Your Experiments
Keeping a journal of your experiments helps refine your process and track creative growth. Record details about each shoot, settings, materials, and outcomes.
Step-by-step: 1. After each experiment, note what worked and what didn’t. 2. Review your journal regularly to identify patterns and inspiration. 3. Share your results with online communities or local art groups for feedback. [2]
Accessing Resources and Opportunities
To expand your skills in experimental photography, consider the following pathways:
– Attend workshops at local photography studios or art centers. – Search for online tutorials and courses on experimental techniques. – Join forums such as Flickr, Reddit’s r/photography, or local camera clubs to share ideas and seek feedback. – Explore resources from established photography organizations. You can search for “experimental photography workshops” or “creative photography courses” to find programs near you.
If you wish to showcase your work, consider entering competitions or submitting to online galleries that accept experimental photography. Always verify the credibility and accessibility of platforms before submitting your work.
Conclusion
Experimental photography is a gateway to creative expression and artistic growth. By embracing these techniques-chemical manipulation, cameraless photography, solarization, motion blur, light painting, multiple exposures, unique filters, projections, found objects, color experimentation, and unusual perspectives-you can unlock new possibilities and redefine your photographic style. Document your journey, seek community support, and continue to explore the evolving landscape of experimental photography.
References
- [1] Shotkit (2024). Experimental Photography: Exciting Techniques To Try.
- [2] YouTube (2024). Experimental Photography: What Does it Really Mean?
- [3] ExpertPhotography (2024). 10 Experimental Photography Techniques You Should Try.
- [4] Owen Mellor Photography (n.d.). Experimental Photography.
- [5] Great Big Photography World (2024). Experimental Photography: A Primer for the Curious.
MORE FROM visa4visit.com
